6 Tips for Cleaning Vinyl Siding
By Danny Margagliano
January 25, 2019 • Fact checked by Dumb Little Man

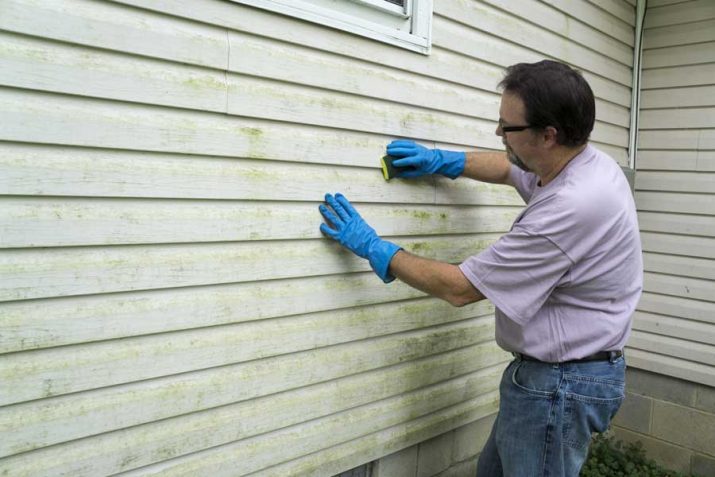
Vinyl siding is an affordable, flexible, durable and weatherproof exterior cladding material that needs to be cleaned from time to time. If not properly maintained, it can accumulate a lot of dirt and dust from the environment. Also, mold tends to grow in the vinyl in humid areas, discoloring its appearance.
If the siding has accumulated dirt, dust, pollen or has mold, here are six tips on how to clean vinyl siding:
Wear protective clothing

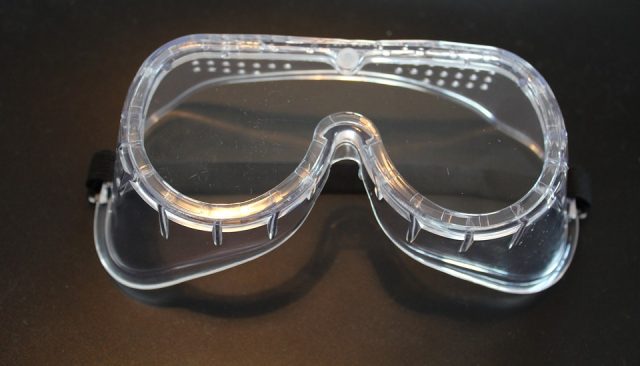
Always wear protective clothing such as closed shoes, rubber gloves, and safety glasses to protect your foot, hands, and eyes from the cleaning solution and the water.
Remove plants, furniture, and any other objects that can be affected by the cleaning chemicals from the area.
Stay safe
Cover electric sockets with a waterproof material and unplug any electrical devices near the vinyl siding. Also, remove any objects that could obstruct you or injure you during the cleaning process. You don’t want any Tim The Tool Man 911 calls.
Use a soft cloth
Highly granular scrubbing materials such as steel wool or a yard brush should not be used to clean the vinyl as these can cause damages.
When cleaning, use a clean, soft cloth or a long soft bristle brush. We recommend these two cleaning materials because they will not dent, scratch or puncture the siding during the cleaning process.
Punctured vinyl can be challenging to repair since you need to remove other sections of the siding to get to the damaged part. Depending on the damage, you may need to replace the whole piece of the damaged siding during the repair.
Likewise, punctured siding can retain water leading to the growth of mold on the siding. Hence, when washing vinyl, you are advised to use soft cleaning materials to avoid scratching or puncturing it.
Avoid cleaners that contain undiluted chlorine, nail polish remover, and liquid grease remover as they can damage the siding.
Start cleaning at the bottom of the vinyl siding
To ease the cleaning process, divide the portion you want to clean into pieces of five foot by five foot. Then start cleaning at the bottom as you move upwards to prevent streaks from forming on the washed portions.
Once you finish one section, move to the next section and again begin washing from the bottom heading to the uppermost part of the vinyl, repeat this process until you finish.
Thoroughly rinse the residue as you go

If you wait too long before rinsing the residue, the residue might dry on the washed part. With that, you will be required to re-wash the surface again to avoid dirty spots from forming on the vinyl. Wash on a cloudy day to ensure the residue does not dry up too fast.
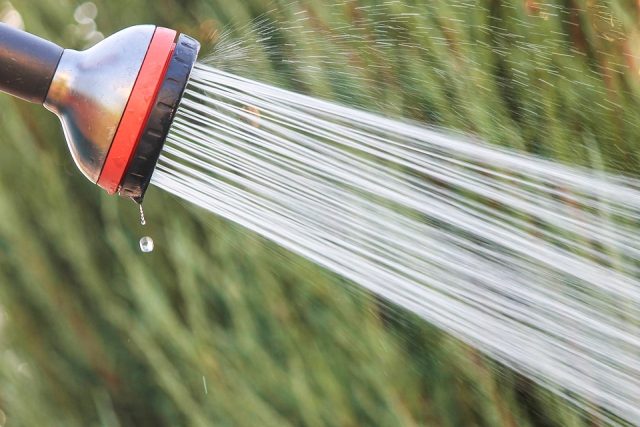
Start rinsing from the top as you move to the lower parts of the vinyl. Rinse as often as you can.
Use a pressure washer
Depending on the siding installed, you can use a pressure washer. Check the manufacturer’s recommendations first before using a pressure washer.
If the manufacturer has approved the use of a pressure washer, we advise that you spray the stream of water at eye level and keep the stream straight at the siding and not at an angle. This way, water will not find its way to the back side of the siding.
Wash with caution in openings such as doors, windows, and plumbing areas. Always remember to be gentle throughout the cleaning process to avoid causing any damage.
If you follow these six tips, your vinyl will look as good as new once you have finished washing the vinyl siding.
See Also: How To Keep Mold Out of Your Basement
Derek Worchel is a general contractor and realtor in Bellingham Washington. He has done his fair share of vinyl siding installation and cleaning. You can find him at https://www.aspmwa.com.


